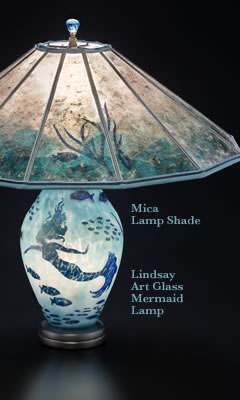
We’ll replace the lamp base light bulb free in the shop.
We have used the lighted base in our antique lamp almost every day for maybe 15-20 years and its bulb hasn’t gone out yet, but if it does need to be replaced, bring your lamp in and we’ll change the bulb in the lamp base for no charge.
DIY
If you can’t bring your lamp in, these instructions should do the trick, or be good to take along to a local lamp repair place:
How to Change the Light Bulb Inside Your Lighted Lamp Base
You will need a pair of regular pliers and a replacement bulb. A 7.5 watt bulb with a candelabra base is required.
1) Unplug the lamp!
2) Looking at the bottom of the lamp you will see a wooden base with a cord exit hole on the side and a larger hole in the center. The power cord disappears into a piece of threaded pipe that comes out of the lamp in the middle of the hole in the center of the wooden base. Push the power cord back through the exit hole, toward the larger hole in the center of the base. You want to create a loop of excess cord about a foot and a half long (about 55 cm).
3) After you have the loop, take the pliers and loosen the steel nut on the threaded pipe coming out of the lamp. There may be a 3⁄4” diameter knurled nut between the base and the lamp. Remove this nut. Once the nuts are off the threaded pipe you will be able to lift the socket assembly off the top of the lamp and the internal socket will then be exposed.
4) Take out the bad bulb and replace with a new one.
5) Cradling the top of the lamp in one hand and holding it upside down, gently slide the workings back into place, insuring that all washers are properly seated. When the threaded pipe pokes through the bottom of the lamp replace the knurled nut and push the pipe through the base. The knurled nut should be positioned so that it is tight against the base at the same time that the cap is tight on the lamp. Reattach the steel nut and gently tighten by hand. At this point you want to check that the vase is sitting centered on the base, that the switch on the socket is in the front and that the cord exit on the base is at the back. When everything is in place gently tighten the steel nut with the pliers, being careful not to tighten so much that the glass is damaged (several quarter turns).
6) Pull the excess cord back out through the exit, making sure the cord isn’t twisted.
7) Plug in the lamp and turn it on.
